How To Start a Travel Blog

Thinking of starting a travel blog but no idea where to start? In this tutorial, we’ll show you the exact steps you need to take to launch your blog! Even though this all seems very tech-savvy, it’s actually very easy! You’ll have your blog up and running in no time.
Starting a blog takes patience – from learning how to get visitors to your website to writing posts – all this work will be unpaid at first. The good news, though? If you’re serious about it and invest time in learning the ins and outs of blogging, you’ll have a successful travel blog in no time! Starting out own blog has given us so many opportunities – from going on full-paid trips to getting paid to travel and promote destinations, to working with incredible brands and meeting bloggers all over the world who have also become close friends.
Travel blogging takes hard, upfront work, but the rewards are so worth it for those who are willing to push through!
3 steps to starting your own travel blog
1. Choose a name for your blog
You’ll want to take your time for this one – make sure you pick a name that a) you love b) is available as a domain and on ALL social media platforms and c) that can stand the test of time. For instance, you don’t want to pick a name called “backpacking Cassie” – what if, say, in five years, you get tired of backpacking and choose to change your content to a resort or boutique-focused travel. Suddenly, your blog’s name won’t fit your content anymore. Pick something generic, like “traveling Cassie” instead.
Back in the day people chose names like Verbal Gold, Coffee and xyz, Cashmere and xyz, Mommy xyz, Mom and xyz, etc.. but nowadays people are just using their name. So ultimately it’s up to you.
2. Get your blog hosted
Time to get your blog up into the internet world! It sounds super complicated, but we’ll guide you through everything.
There are so many different ways to get hosting, but we’ve always stood behind WordPress as it’s the most blogger-friendly system out there. Plus, the possibilities of a self-hosted WordPress blog are endless! If you’re serious about starting a travel blog and making money from it, you need to get WordPress.
Now you need web hosting. We recommend HostGator because they offer a lot of options that are also affordable. Starting at only $2.75/mo*. They have prices based on the number of visits per month so if you’re just starting out you can find an affordable option. They also offer automated daily database backups, SSL cert, free domain, professional branded unlimited email addresses and available help 24/7. Major takeaways are their 2.5x speed, advanced security, and free migration.

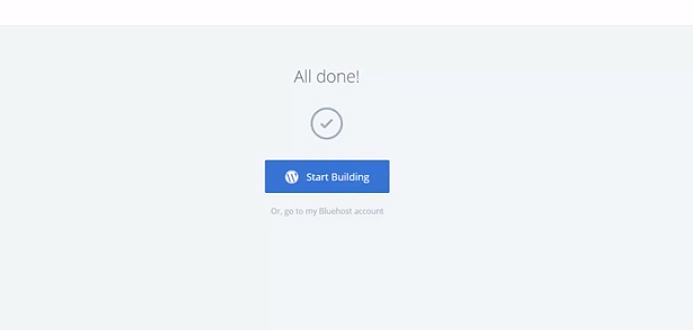
And done! You’ve now got hosting for your blog! Now it’s time to install WordPress.
3. Install WordPress
- You’ll be taken to the WordPress Quick Install page. If it doesn’t show up right away, check your email – HostGator will send you a link to it.
- You’ll be given an option to pick a theme (a custom design for your blog). Pick any – it’s just a placeholder for now. You’ll get to change it to a much cuter one soon. For now, it’s just part of the installation process.
- Click on the “Start Building” button.
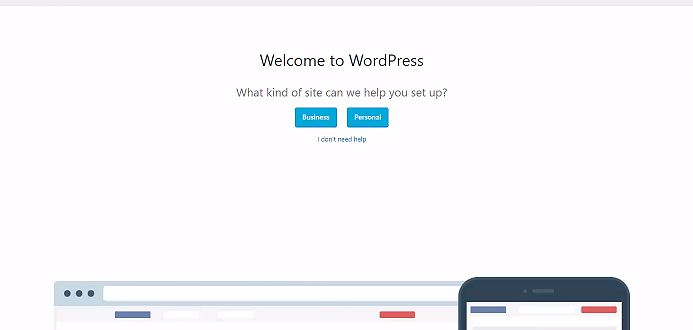
4. Choose the business option.
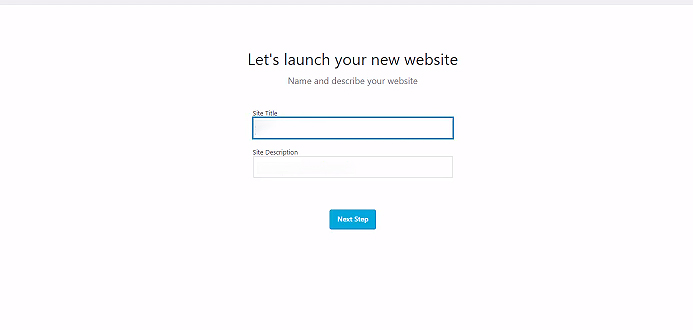
5. Pick a title and description for your blog. The description should be short and sweet, like “A travel blog for female millennials”: You can always change this later.
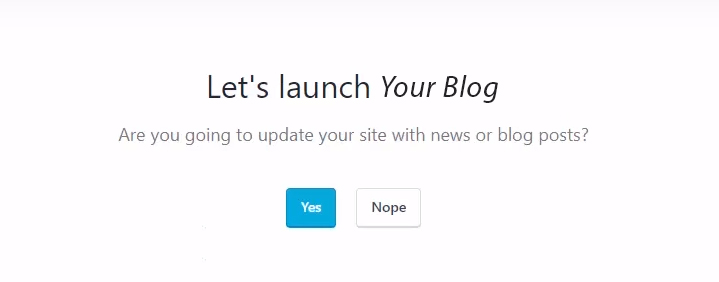
6. Choose yes.
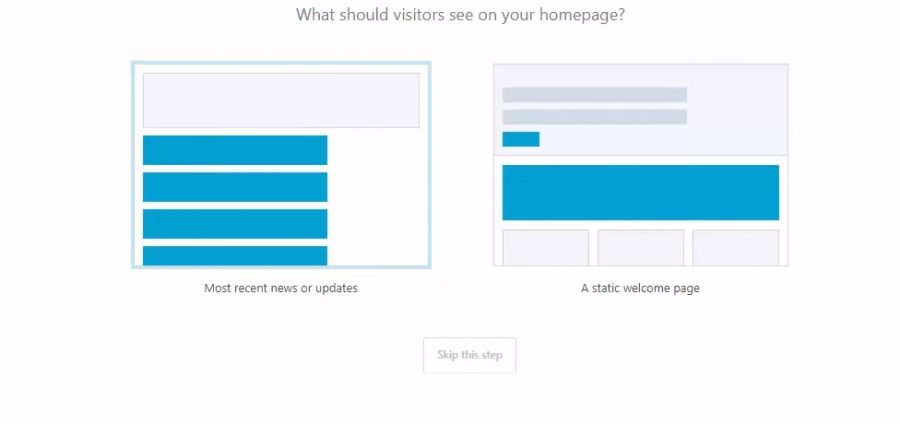
7. Pick whether you want the home page of your blog to be a static page (which you’ll design) or recent news page (where your latest posts appear). You can always change this later, so don’t worry t0o much about it.
8. You’ll be asked if you want to install Jetpack on your blog. Click on “not now”.
9. Now, you’ll be asked to type in your business address. Just hit the “Not Now” button.
10. Finally, you’ll be asked if you want to install Woocommerce on your site. Click “Not now”.

And done! You’ve officially got a WordPress blog!
You’ll get an email with all your log in details to access the backend of your site. For now, it doesn’t look too pretty, but this is where a theme plays in!
A theme is basically the design of your site. There are tons of free ones, but we do recommend purchasing a premium one as it’s more customizable. A few premium theme sites we love are Pigdig and Theme Forest. You can also hire people like I did to design something for you. I recommend MLL Branding + Design Studio.
If you want to start things with a free theme, though, then go into your WordPress dashboard and click on Appearance > Themes, where you’ll get thousands of free theme options.
And done! Now your blog looks more like you! As your blog grows, you’ll start changing things a bit and building on your online presence! Once you have everything all set up now it’s time to focus on writing posts and set up an about me page to let readers know who you are.
Read Next:
How Do Travel Bloggers Make Money?
How To Negotiate Brand Contracts For Bloggers + Influencers
What Is A Rec List And Why You Should Have One As A Blogger
How Bloggers Can Work With PR Agencies From PR Reps Themselves
Did You Know You Can Now Follow Hashtags? + My Instagram Hashtag Cheatsheet For Every Blogger
All Of The Travel Photography Gear I Use For My Blog
Get My Ultimate List Of Over 150 Influencer Networks So You Can Start Monetizing Your Blog Today!