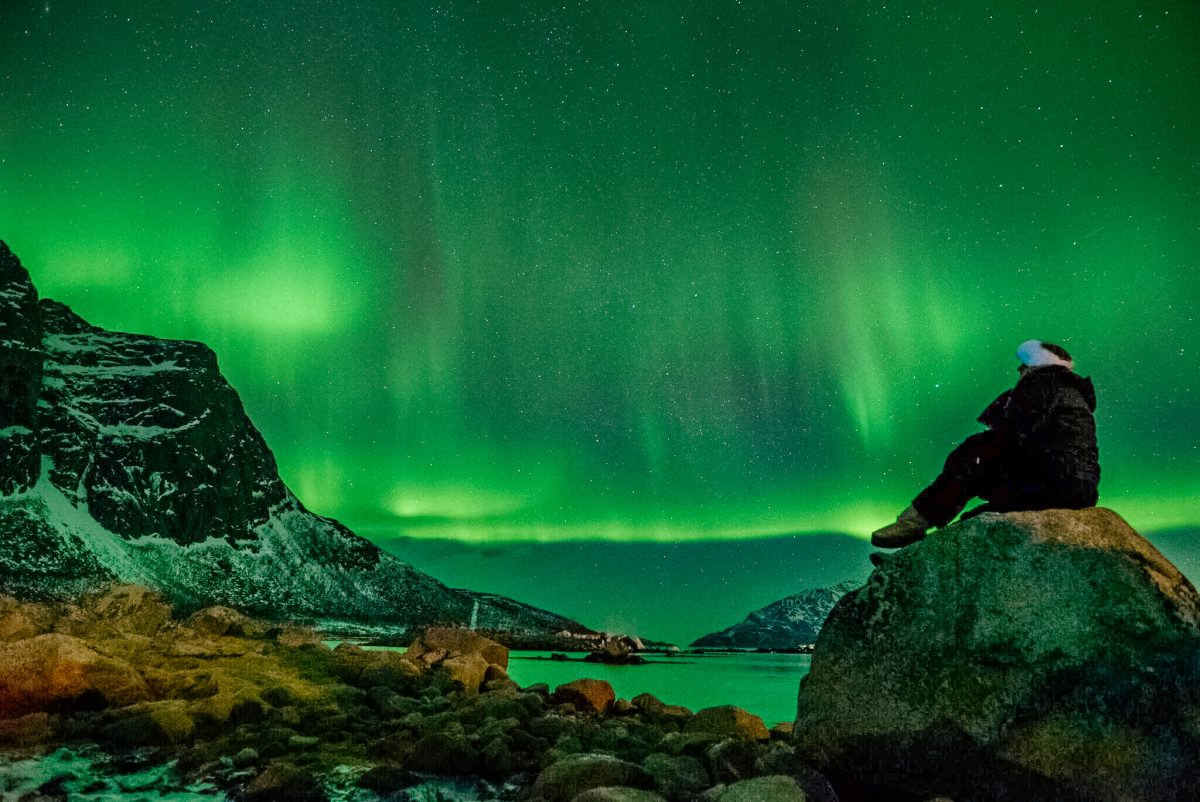
How to See and Photograph The Northern Lights

Are you traveling somewhere this year in hopes to see the Northern Lights? Many travelers venture out into the world to capture a glimpse of nature’s beautiful light show. There are many locations that you can opt to travel to see the Northern Lights. Many go to Tromso to see the Northern Lights, others head to Iceland, or Alaska just to name a few travel locations to see the Northern Lights. No matter where you’re heading this year to capture this beautiful light show, I wanted to share a few tips that will help you see and photograph the Northern Lights.

How to See and Photograph The Northern Lights
The Main Factors
Three factors come into play when you’re looking to see the Northern Lights. You’ll need darkness, such as a clear night sky. You’ll also need a location that’s known for high aurora activity and a little luck along with perseverance. Make sure to use chasing lights or go out early at around 6 to photograph the aurora!
If you’re feeling uncertain you can hire a company or a tour guide to help you. We got on a bus and they took us to the perfect spot. I’d definitely recommend hiring Chasing Lights.
Where to See the Northern Lights
You’ll find that the best geographical areas to see the Northern Lights include Norway, Alaska, Canada, and Iceland. You won’t be able to see many aurora occurrences during the summer season, so you’ll also want to plan a trip during the winter season for the best chance to see the light show. They say the best time to go is the end of Feb to March and in September to October.

Aurora Activity
To increase your chances of being able to photograph the Northern Lights, you’ll want to keep an eye out for the predicted aurora activity. This is rated on a scale of 0-9. Many people have been able to photograph the Northern Lights with a 2-3 scale aurora activity prediction.

Recommended camera settings
Everyone has their style and settings preference when it comes to photography, but when it comes to photographing the northern lights, it can get tricky. After a ton of trial and error, here are the settings I recommend to get the best shots:
ISO: 1600 +
Aperture: As wide as your lens allows. F 2.4 did the trick for me.
Focus: Manual mode
Exposure time: 15 seconds, but play around to see what works for you!
White balance: WB Fluorescent
If your camera has this feature, I recommend shooting in live mode.
Make sure to set your camera up on a tripod. You can also use a GoPro on a tripod.
If you’re going to be in the shot set your camera on a timer and be prepared to be very very still as the shutter takes 10+ seconds. You’ll also need someone to shine a light on you in the foreground. Not the entirety of the 10-30 second shutter but just for a second or two. Your camera will catch it. You can try some with the flash on and off to see what you like best. Play around with your settings to see what looks best to you.

Equipment you need to photograph the northern lights
The best way to photograph the Northern Lights is to use my advice laid out above to find the best time and location to capture the aurora activity. You’ll also want to have the best camera equipment to get that frame-worthy shot. Here’s what you’ll need to bring along:

Manual Mode Functionality
You’ll want to have a camera that has a manual mode function. Think full-frame DSLR.

A Sturdy Tripod
Where the Northern Lights are the cold weather lives. If you try to take the photo by hand it will come out blurry. A tripod is a must.
Wide Angle Lens
Many people who’ve photographed the Northern Lights recommend a wide-angle with a fast aperture. The recommendation is f2.8 or max of f4.
Spare Supplies
Be sure to have spare batteries, a memory card, and other supplies to ensure you don’t end up with a dead camera when the Northern Lights decide to dance for you. The cold and shooting on a timer will drain your batteries so fast.

Be prepared to go out a few nights in a row to catch the Northern Lights. We had the most epic trip in Norway and caught them every night we went out! It was magical. The most memorable experience for sure.
Your camera will catch a more saturated version of the Northern Lights as your camera is better than the naked eye so get excited to see what you capture! The Northern Lights do so many incredible dances with so many beautiful colors. I laid on an ice cube basically for half an hour just watching the sky move. Once in a lifetime experience for sure.
I hope that my tips to see and photograph the Northern Lights have inspired you to plan a travel excursion to the best location to see the Northern Lights. You can check this travel bucket list item off your list if you simply follow my tips on how to make this dream come true.