An easy step by step guide on how to animate your photos!
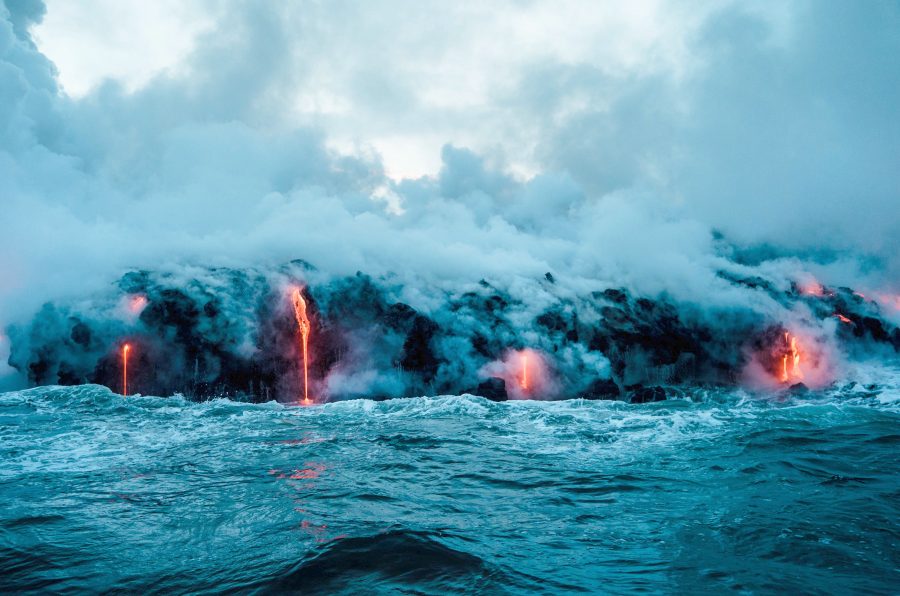
I posted this photo on Instagram and my finished plotograph on Facebook and I got a ton of messages and questions. It was edited with one of the best programs out there, Plotograph. Basically plotograph adds movement to your photos. You can easily animate your still photos in the app. They’ve now changed the app name to Plotaverse but it’s the same thing. You can see what the app looks like in the App Store in the image below. The app was selected as the 2017 App of the Year by the App Store in 3 different countries. I find the app suuuuperrr easy but you can also use the desktop version! But I’m here to help so I’ll give you a quick guide on how to use Plotograph to animate your photos. The app has come a long way! They now have FX’s and a total community on the app.
Easy step by step guide on how to animate your photos with Plotograph!
Step 1. Download and open Plotoverse
Click on Plotograph+ 
Step 2. Select your photo
Once the app is open and you’re in the plotograph+ section, just hit the + button at the bottom and select a photo to upload. Choose ones that naturally have motion like water, wind, clouds, wine… you get the idea.
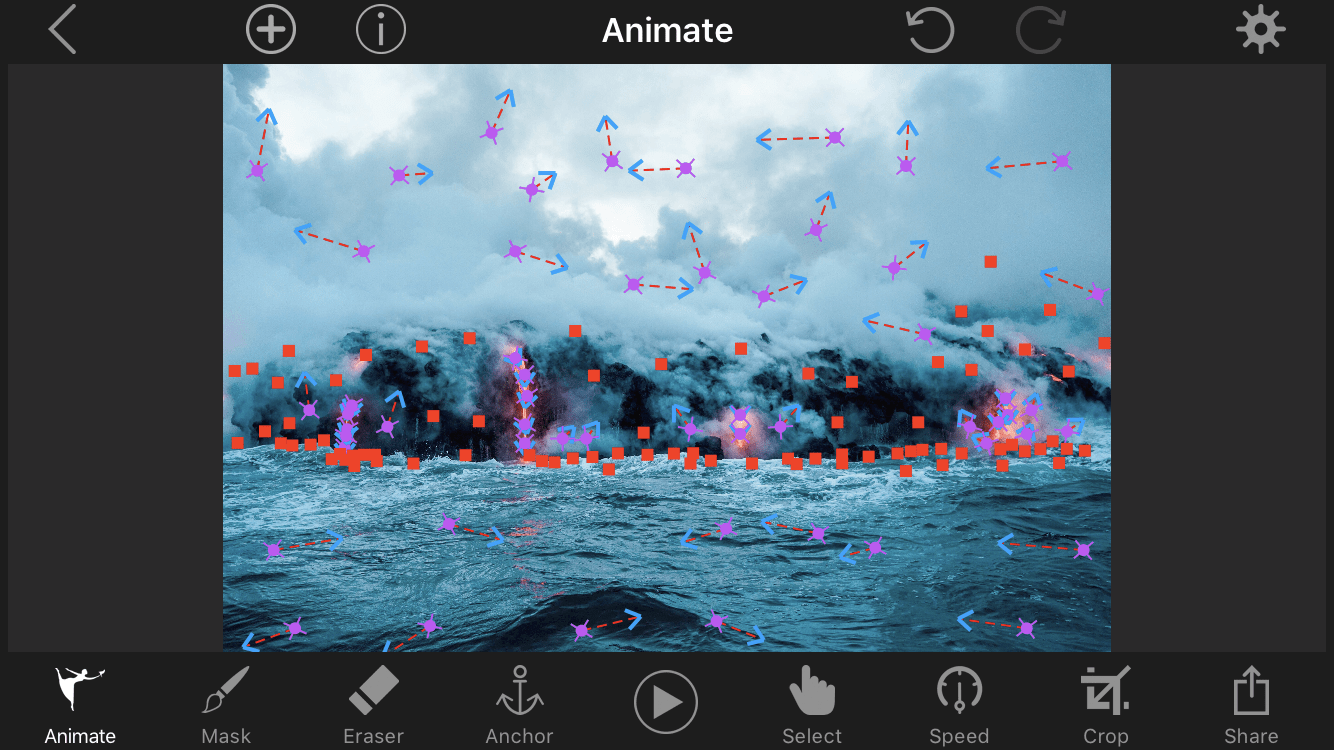
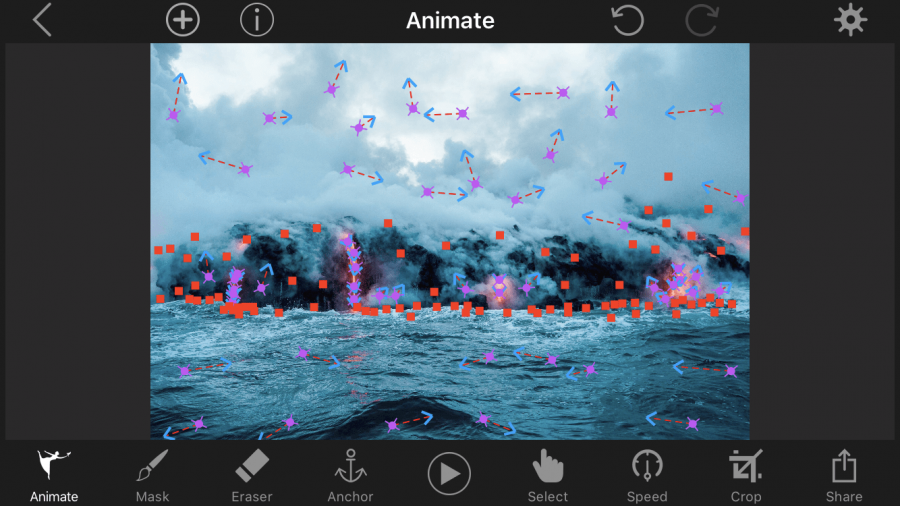
3. Click animate
Tap and drag where you want the photo to move. There will be these arrows and you can drag them to be shorter or longer depending on the movement you want it to make. You can use the select tool to move or delete points if you don’t like it in the end so no worries. Go crazy.
4. Mask
Draw on the mask to keep areas stationary. Whatever you don’t want to move make sure you’ve drawn a mask over it. There is an eraser and a size tool in case you mess up or need to draw over small areas.
5. Anchor
You can also place anchor points to stop motion. In the ocean photo above, you see that when the lava hit the water I didn’t want the water to move that way so I placed anchor points where the lava and the water meet in my photo. They’re the red squares in the photo.
6. Hit play
All done! Now it’s time to hit play! Check out your plotograph! Here you can adjust the speed or add FXs!
7. Save
Hit save and save your new creation to your camera roll!
Check out my final product here!
It’s that easy! Have so much fun! And if you enjoyed this tutorial please let me know! I’d also love to see your creations so tag me on Instagram @verbalgoldblog