Quick iPhoto editing tips: how to remove people and things from your photos
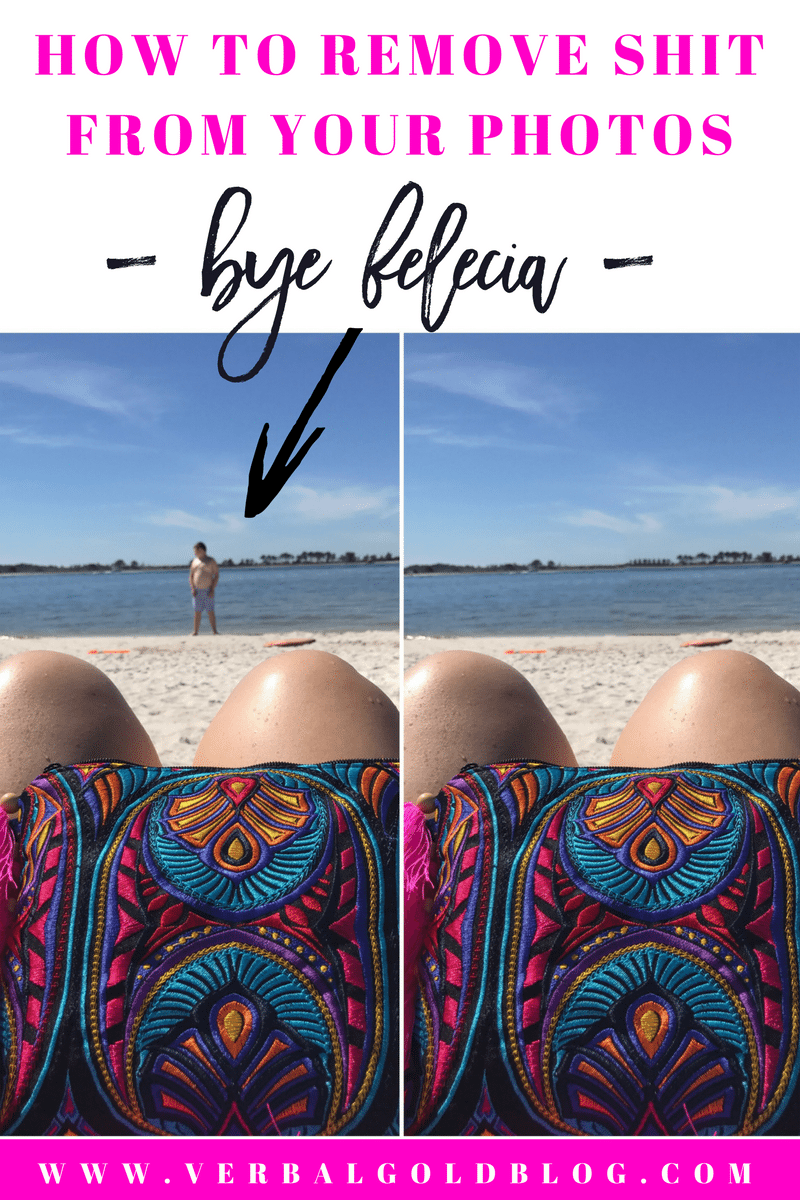
How to remove someone or something from your photo. It’s so annoying when you get the perfect picture and then realize there is something or someone in you way obstructing the perfect view. There’s nothing I hate more. It’s a funny story actually, we were taking pictures all day for this hotel in Florida and I swear, every time I tried taking a photo some kid would get in my shot. There would be no one around me and then all of a sudden, bam, kid. So as you can see I had to just go with it and learn to remove them later. It’s as easy as 1, 2, 3. Especially because you can do it from your phone!
Here is exactly what to do to remove unwanted guests from your photos

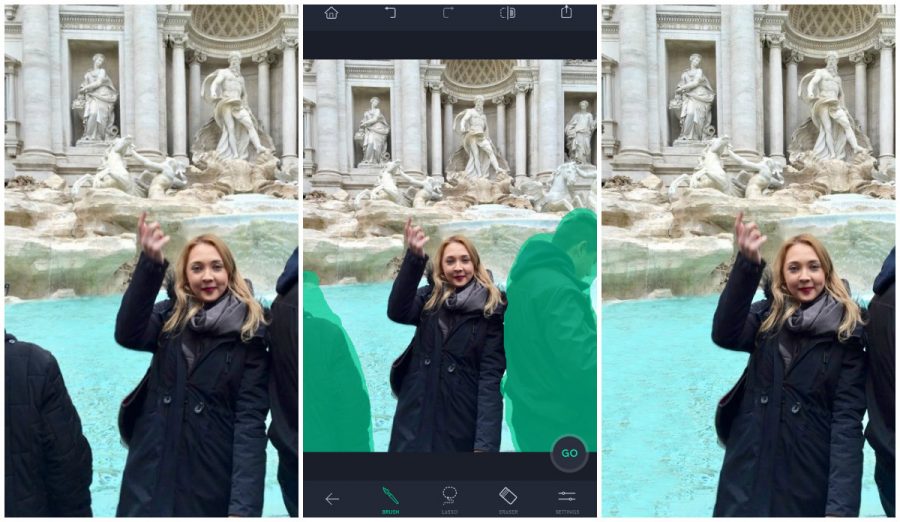
Step 1. Download the Retouch app
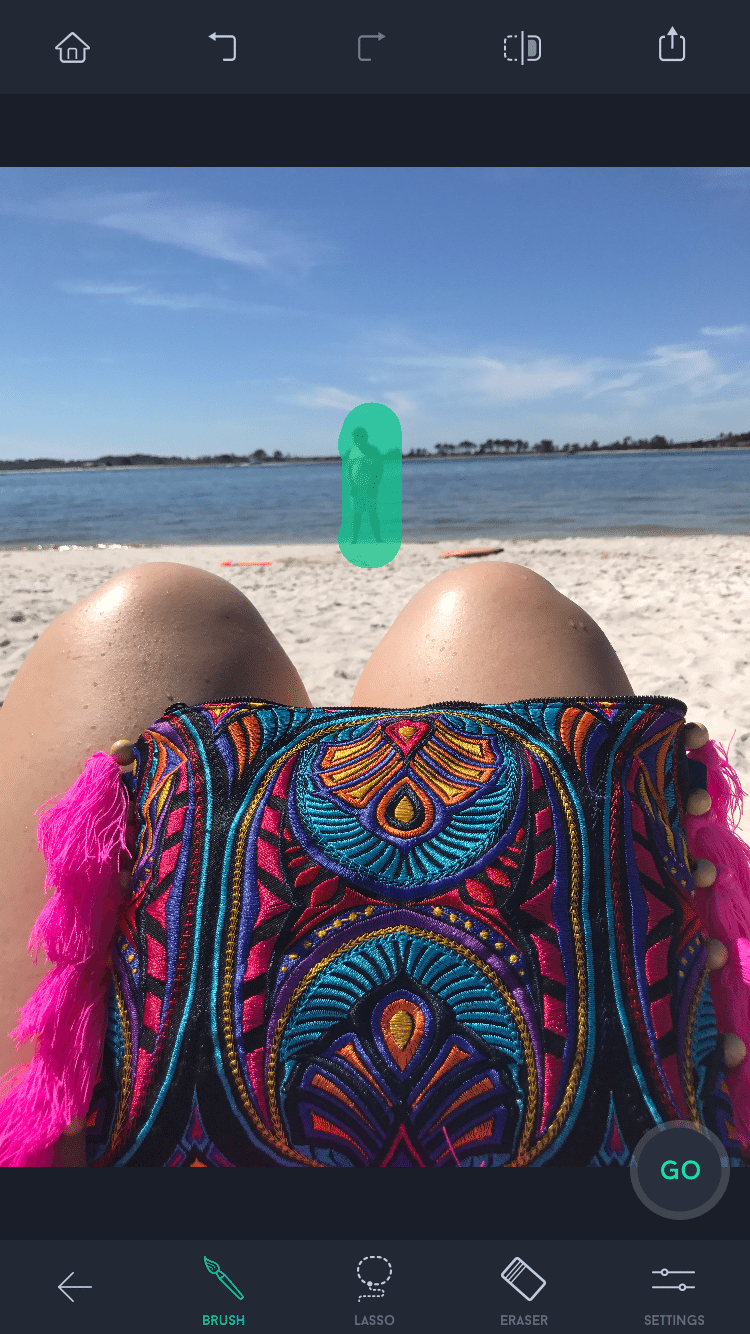
Upload your photo in retouch, and you can brush, lasso, or erase your perp out of the picture! Just highlight the area you want removed and hit GO & Voila!
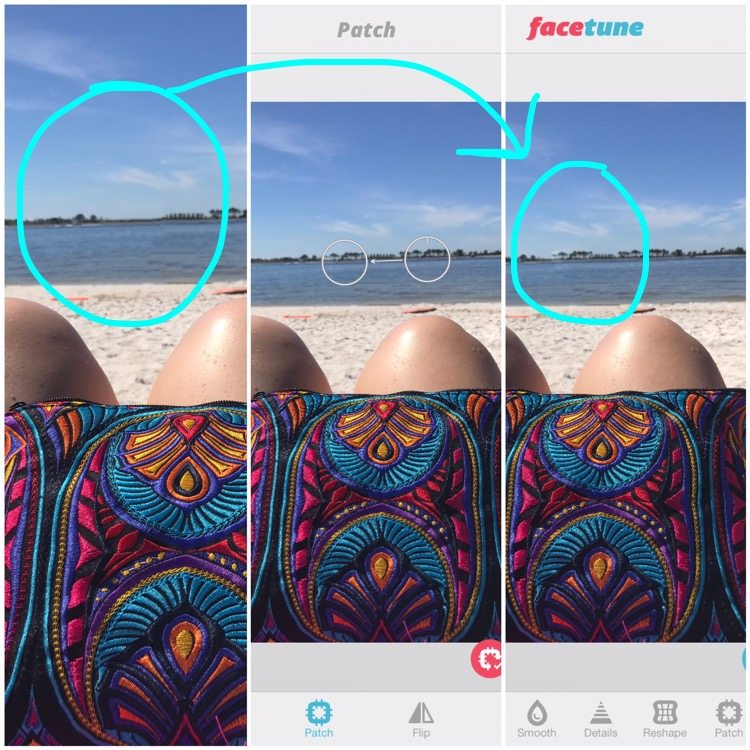
Step 2. Facetune
Sometimes when you remove the item or person that was in the way retouch will replace it with their attempt at what the background was but sometimes it doesn’t look natural. You might need to take it one step further to fix the image.
I didn’t like how straight the background was and I wanted to add some trees. To do this, just open facetune, select patch, click on the area you want to patch and the area you want to patch from. There will be two circles where you’ve selected. You can adjust the size of these circles by pinching the screen. The smaller the circle the better in my opinion. They both adjust at the same time. Once you line up the background how you like it, hit the blue check (save). If you want to see the before and after before you save just hold down the blue circle with the two white boxes in the bottom right hand corner. Easy peasy.
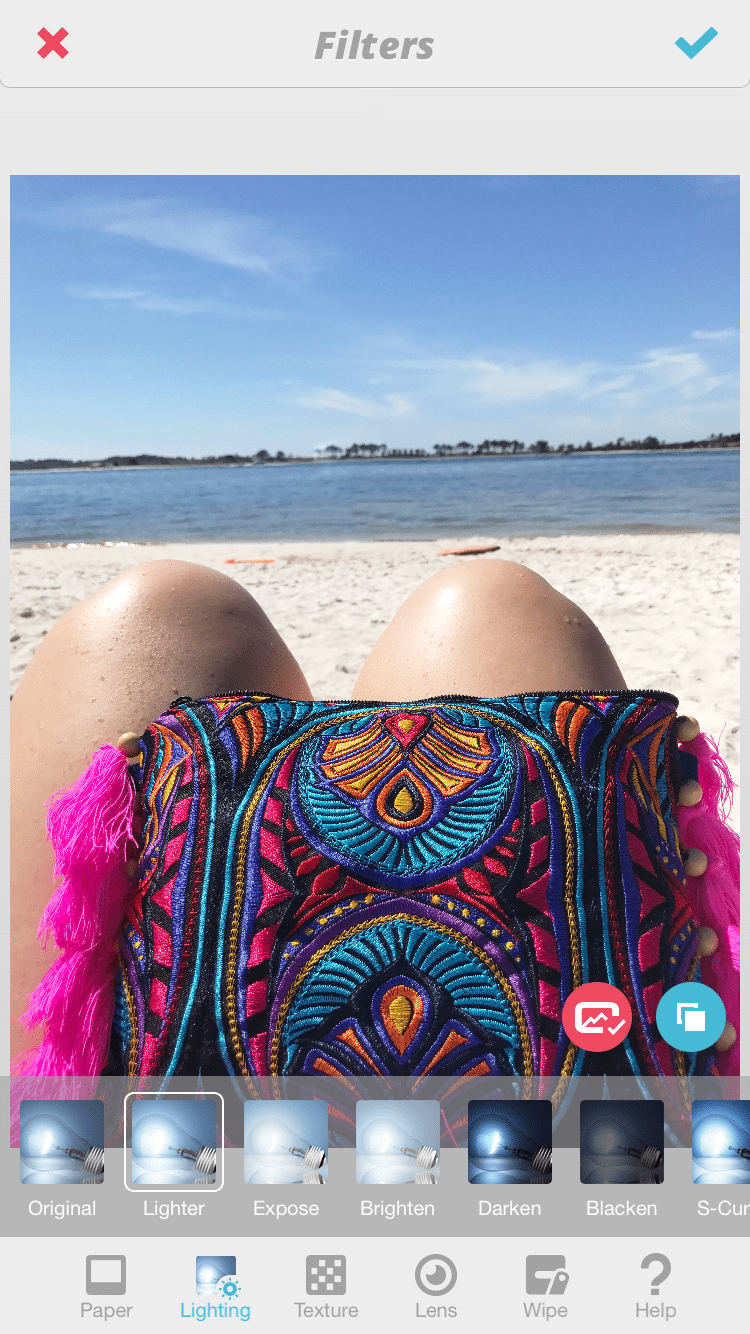
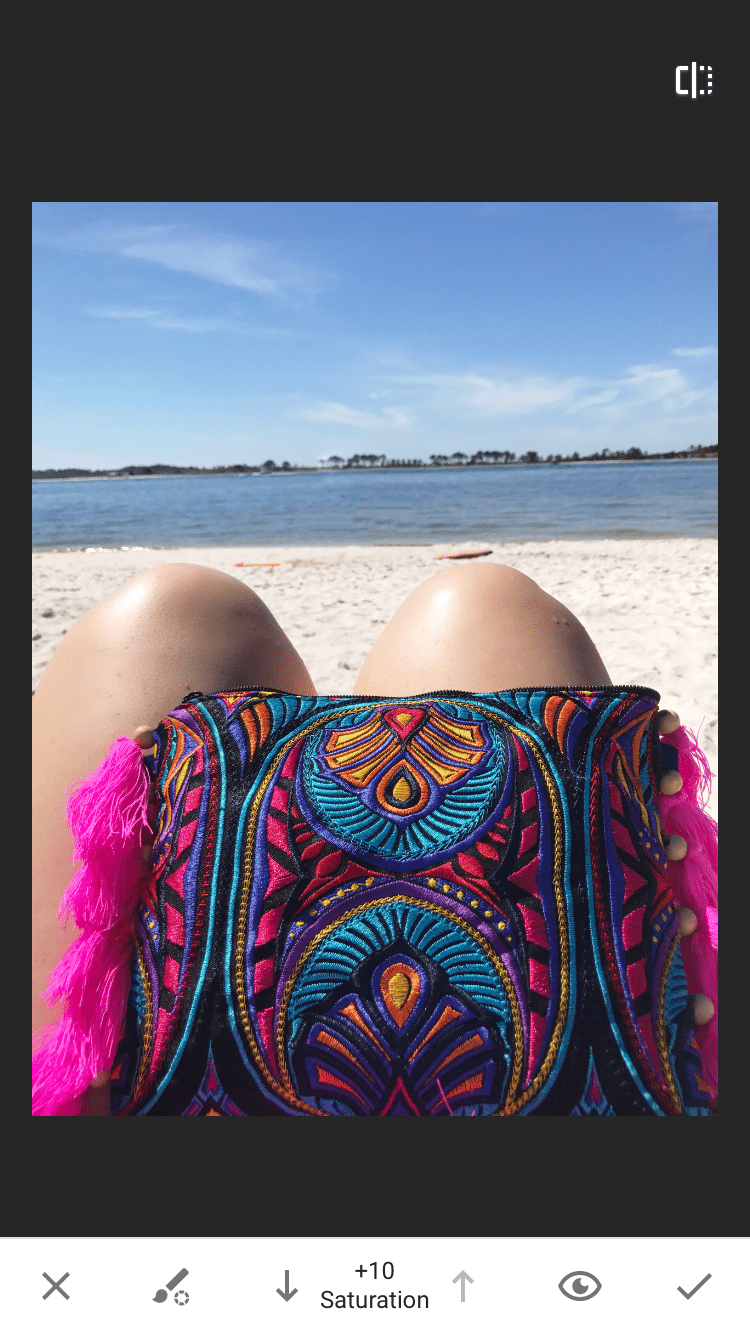
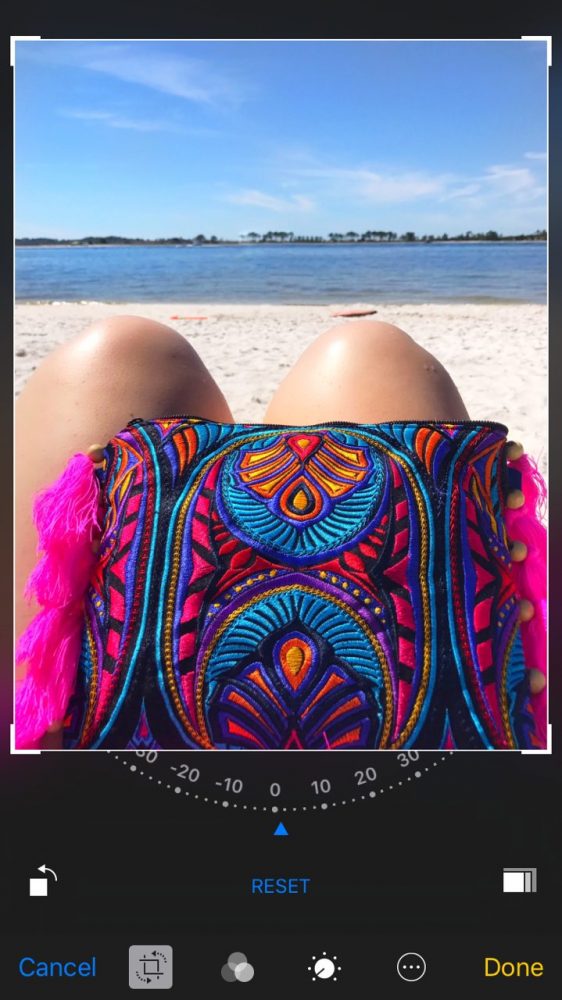
Step 3. Edit your photo as you normally would
See my step by step process on how to edit here.
Final Result:
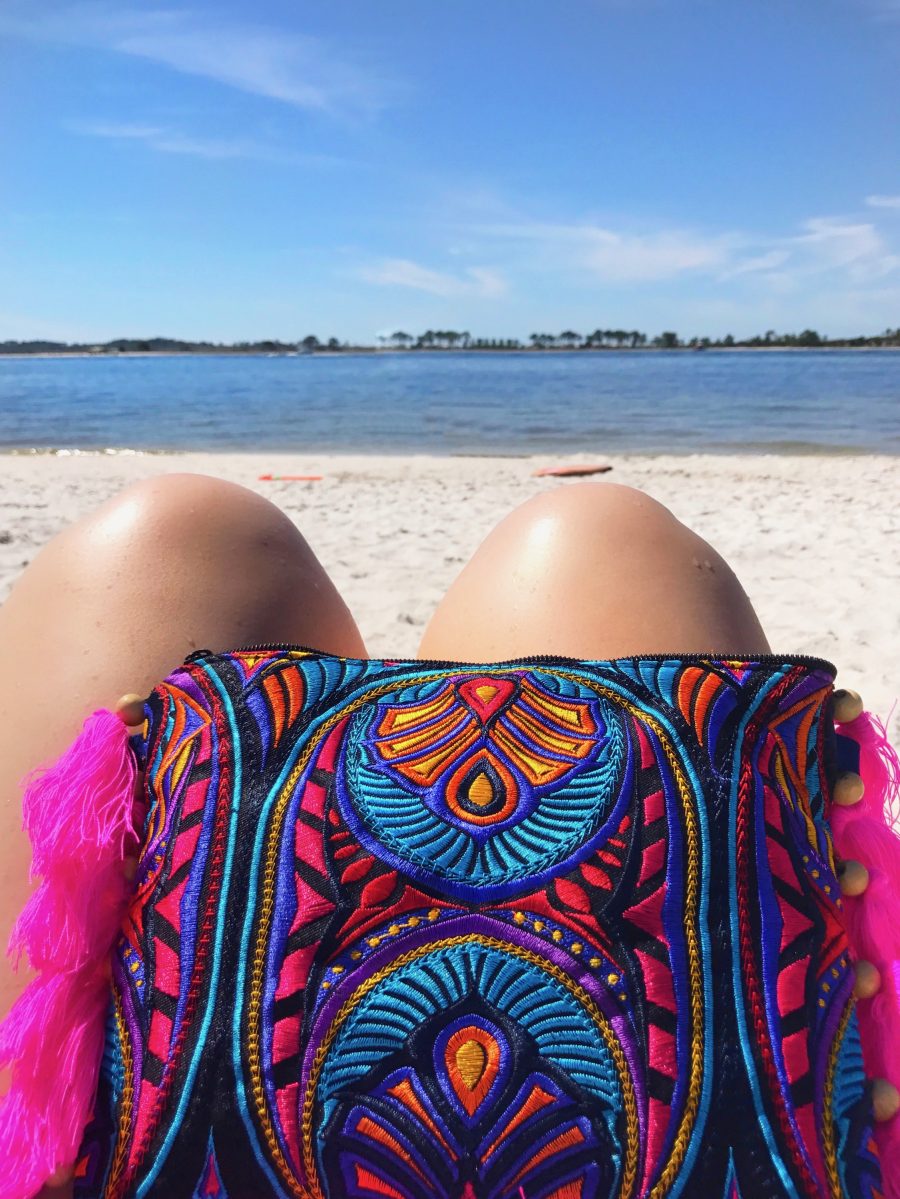
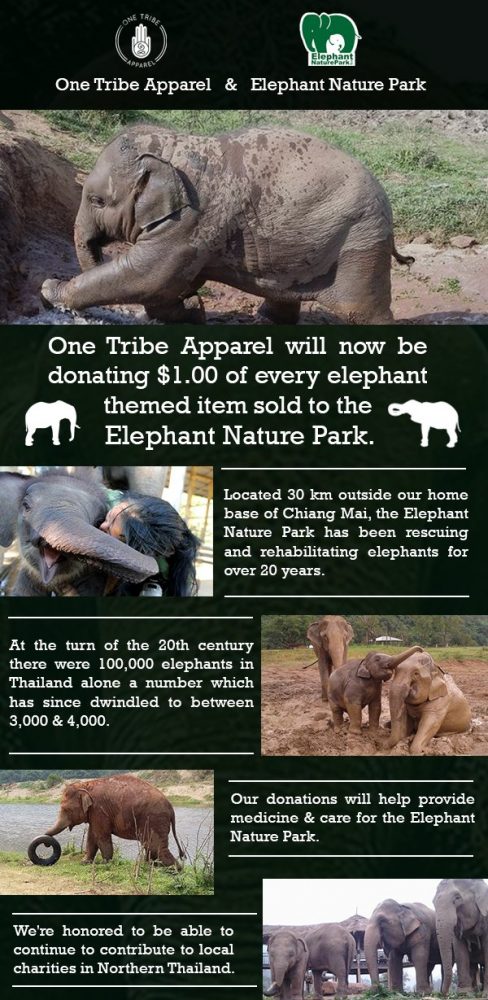
This hot pink tassel clutch is super cute! You can find it here from One Tribe Apparel! Bonus, they give back too which is why I love this company! This year they are giving back to the Elephant Nature Park! Who doesn’t love elephants!! Check out their featured elephant items here.
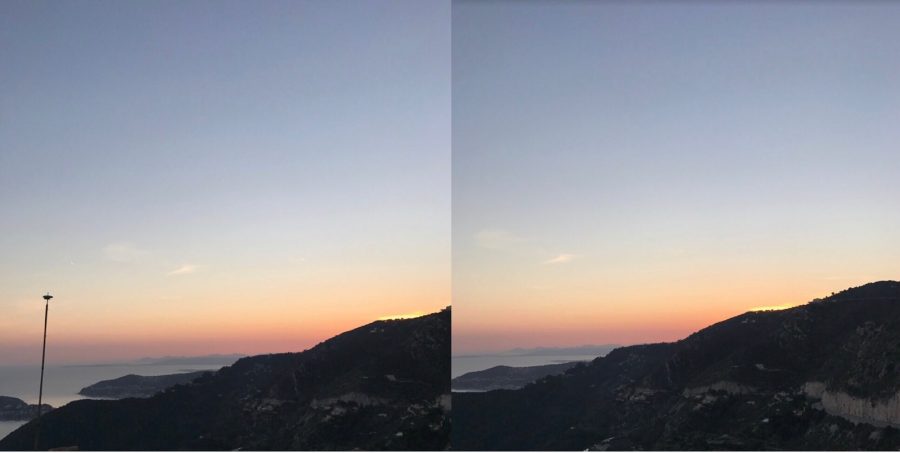
Here are a few more examples of photos I edited using the Retouch app: