How to Upgrade Your Space and Create a Pin-Worthy Statement Wall That Pops!
I’m sure you’ve heard of the Wall Crawls or seen them behind every blogger on instagram. The crazy beautiful eye catching graphic walls make a statement! So why drive around finding the best ones in your city when you can just create one in your own home! I saw this idea on Brit + Co and was inspired to create one myself! I of course put my own spin on it and it’s soooooo “Verbal Gold”! Eeeek! I’m seriously obsessed with this wall!
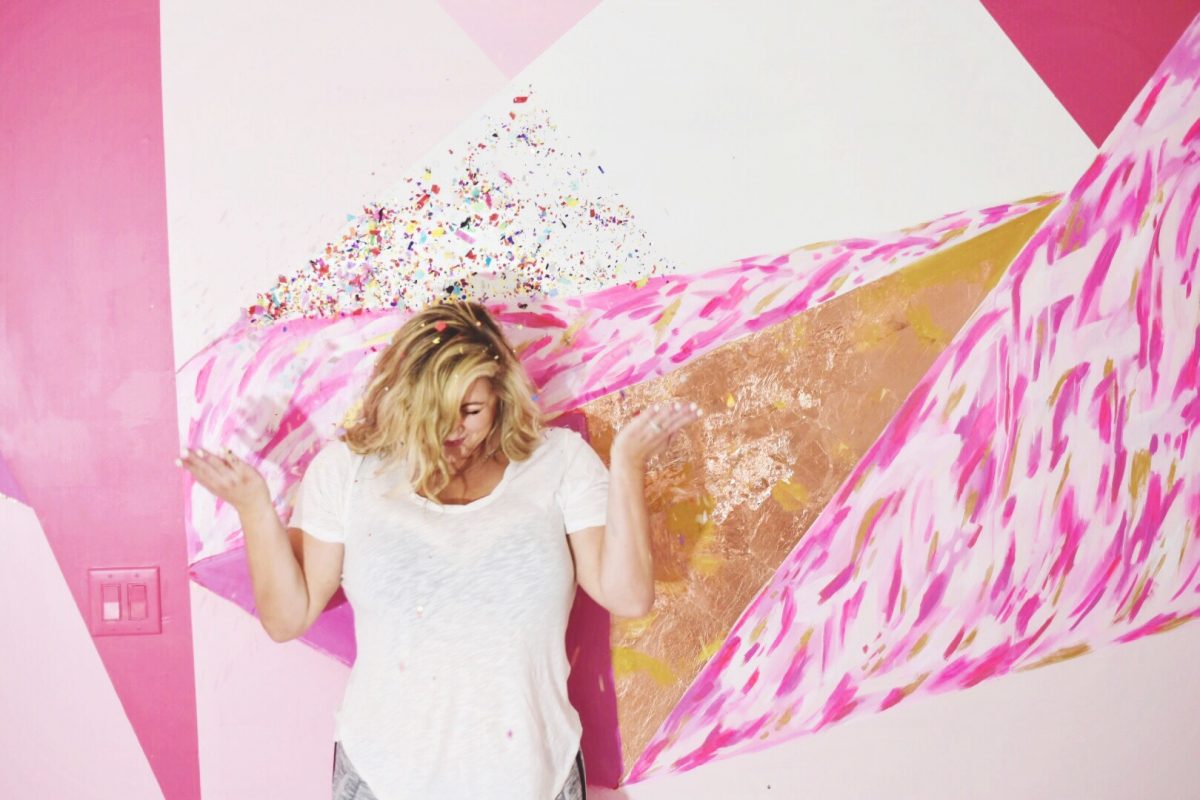
I recently renovated my kitchen and bathroom and in the spirit of home projects I couldn’t just stop there. The entire house got a facelift with gray paint! Bye beige, I do not miss you. The only room that didn’t get painted was a room upstairs and I knew I wanted to do something special to make it mine! I partnered with My Friend Court who is a kick ass artist here in Atlanta to create the perfect blog space and photoshoot backdrop! Y’all are going to die it’s so fab! And of course, Court killed it! Y’all she’s a boss! Make sure y’all check out her shoppe here!
Check out how we revamped the blog room and turned a boring wall into a killer pin-worthy graphic statement wall that pops!!
What you need!
- paint (get a sample size of the smaller sections to save money)
- paint roller (2), frame, cover (for real, it’s either buy extra rollers or cover and wash it after each use)
- paint brush, foam brush (lg and small), smaller craft paint brushes
- paint tray + liners
- painters tape
- rose gold/gold foil + confetti (optional)
- drop cloth
- time and patience (but it’s totally worth it)

Time for the fun part! Designing your wall! Figure out what you want. Geometric shapes, abstract, 3D… or a mixture of all? There are so many options to choose from. Next, you need to pick out your paint colors. You can keep it in the same color family or go a shade off or go totally crazy! I chose 5 but I kept finding things I wanted to add and went a little cray but your design can have as much or as little order as you want! Regardless, you’ll want to do a rough sketch of the wall first. Draw it out on paper and color in the shapes and design so you have a guide to paint by. I numbered my triangles so it was more of a paint by number. If you do that just make sure you don’t use a dark marker on the wall because that will be hard to paint over! After you design your wall and make your plan it’s time to get started!
Steps:
- Paint your wall a base color i.e. white (optional) I chose not to paint my wall a base color but kind of wish I would have done that since one of my paint colors was white. It would have saved me time. It’s also supposed to bring out the best color in your paint but some paints these days are a base coat in one and claim not to need one so keep an eye out for that. Your choice.
- Tape your design on the wall
- Start painting! Paint the largest sections first. Keep in mine you’ll have to move the tape to create that sharp edge unless you want the white tape border around each section. Let these sections dry for a few hours before you move on.
- Move the tape to cover the section you just painted (yes directly over the paint). This will create that sharp edge and seamless look.
- Paint the next area(s). I did as many as I could that didn’t touch to speed up the process. Continue this process until the entire wall is painted!
- Remove any remaining tape and touch up any sections that bled. Make sure to check the trim!
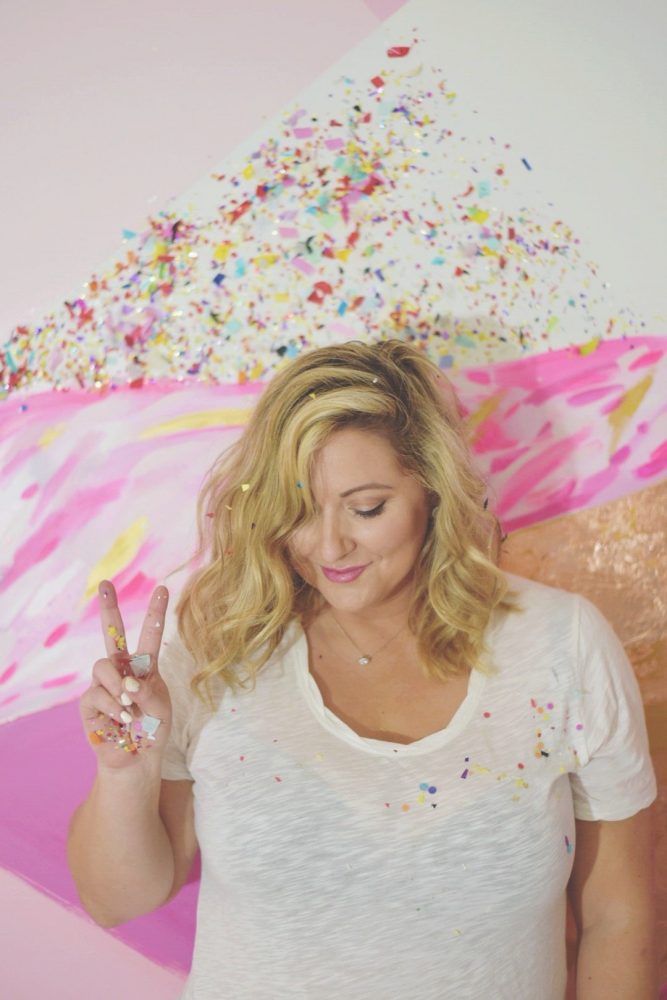
- Voila! Take pictures! You have a bad ass statement wall!

photos by Jennifer Oetting Photography
Watch Our Video
[embedyt] https://www.youtube.com/watch?v=5-0PmkcCRMg[/embedyt]
** pin for later **